前言
之前写了一个开源项目,每次打tag的时候都要手动构建docker image然后上传实在是太麻烦了。于是研究了下GitHub Actions,发现非常好用。 本文就来讲一下,如何借助 Github Actions 自动构建兼容多 CPU 架构的 docker 镜像并发布到 DockerHub。
配置
使用build-push-action进行实现多CPU架构镜像构建。按照官方文档可以快速使用起来,但是有几个比较容易出错的地方需要注意。
配置案例
创建配置文件.github/workflows/docker-publish.yml
name: Docker

# This workflow uses actions that are not certified by GitHub.
# They are provided by a third-party and are governed by
# separate terms of service, privacy policy, and support
# documentation.

on:
  push:
    # Publish semver tags as releases.
    tags: [ '**' ]

env:
  # Use docker.io for Docker Hub if empty
  REGISTRY: 'docker.io'
  # github.repository as <account>/<repo>
  IMAGE_NAME: ${{ github.repository }}


jobs:
  build:

    runs-on: ubuntu-latest
    permissions:
      contents: read
      packages: write
      # This is used to complete the identity challenge
      # with sigstore/fulcio when running outside of PRs.
      id-token: write

    steps:
      - name: Checkout repository
        uses: actions/checkout@v4

      # Install the cosign tool except on PR
      # https://github.com/sigstore/cosign-installer
      - name: Install cosign
        uses: sigstore/[email protected]
        with:
          cosign-release: 'v2.4.0'

      # Set up BuildKit Docker container builder to be able to build
      # multi-platform images and export cache
      # https://github.com/docker/setup-buildx-action
      - name: Set up Docker Buildx
        uses: docker/setup-buildx-action@v3

      # Login against a Docker registry except on PR
      # https://github.com/docker/login-action
      - name: Log into registry ${{ env.REGISTRY }}
        uses: docker/login-action@v3
        with:
          registry: ${{ env.REGISTRY }}
          username: ${{ secrets.DOCKERHUB_USERNAME }}
          password: ${{ secrets.DOCKERHUB_TOKEN }}

      # Extract metadata (tags, labels) for Docker
      # https://github.com/docker/metadata-action
      - name: Extract Docker metadata
        id: meta
        uses: docker/metadata-action@v5
        with:
          images: ${{ env.REGISTRY }}/${{ env.IMAGE_NAME }}

      # Build and push Docker image with Buildx (don't push on PR)
      # https://github.com/docker/build-push-action
      - name: Build and push Docker image
        id: build-and-push
        uses: docker/build-push-action@v6
        with:
          context: .
          platforms: linux/amd64,linux/arm64
          push: true
          tags: ${{ steps.meta.outputs.tags }}
          labels: ${{ steps.meta.outputs.labels }}
很多配置见名知意,对照官方文档也都能找到答案。有的版本官方案例中使用很长一串具体版本,为了方便使用,我改为了数字版本。
配置说明
这里对几个关键的配置项做一下单独说明:
on.push.tags: [ '**' ]每次打tag的时候都自动构建。- env.REGISTRY 如果是docker hub需要填写
'docker.io',不能留空,否则上传报错。 - env.IMAGE_NAME 会自动获取。在日志打印***/your_project会把用户名加*,这是为了保护隐私。
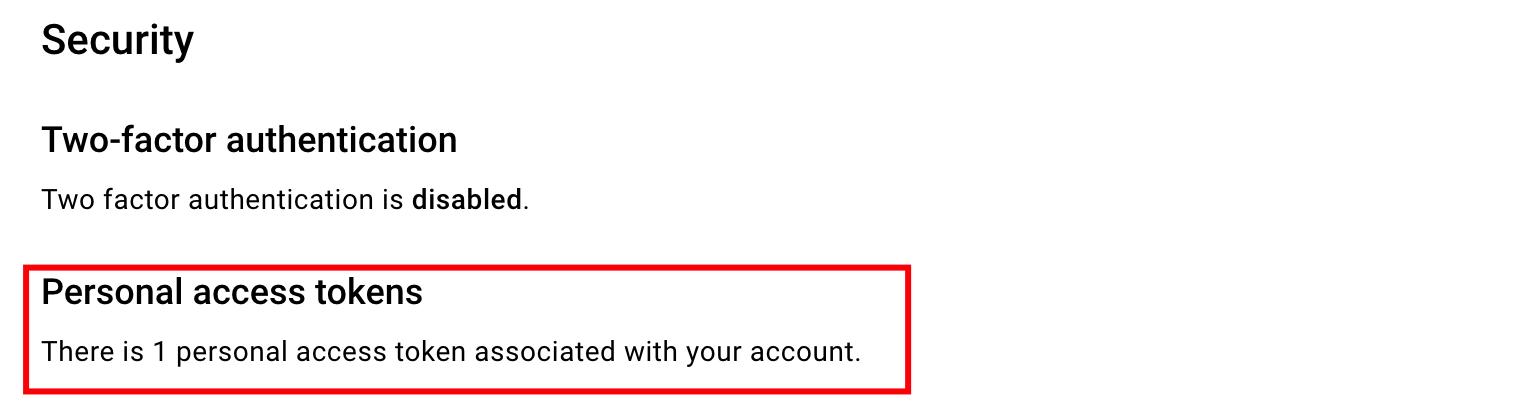
- DOCKERHUB_TOKEN 填写在docker hub创建的token
docker hub settings
file:指定在项目仓库中的 Dockerfile 文件位置,默认当前位置,可以不填。platforms:指定构建镜像所需要兼容支持的平台架构,通常 amd,arm 就够了。
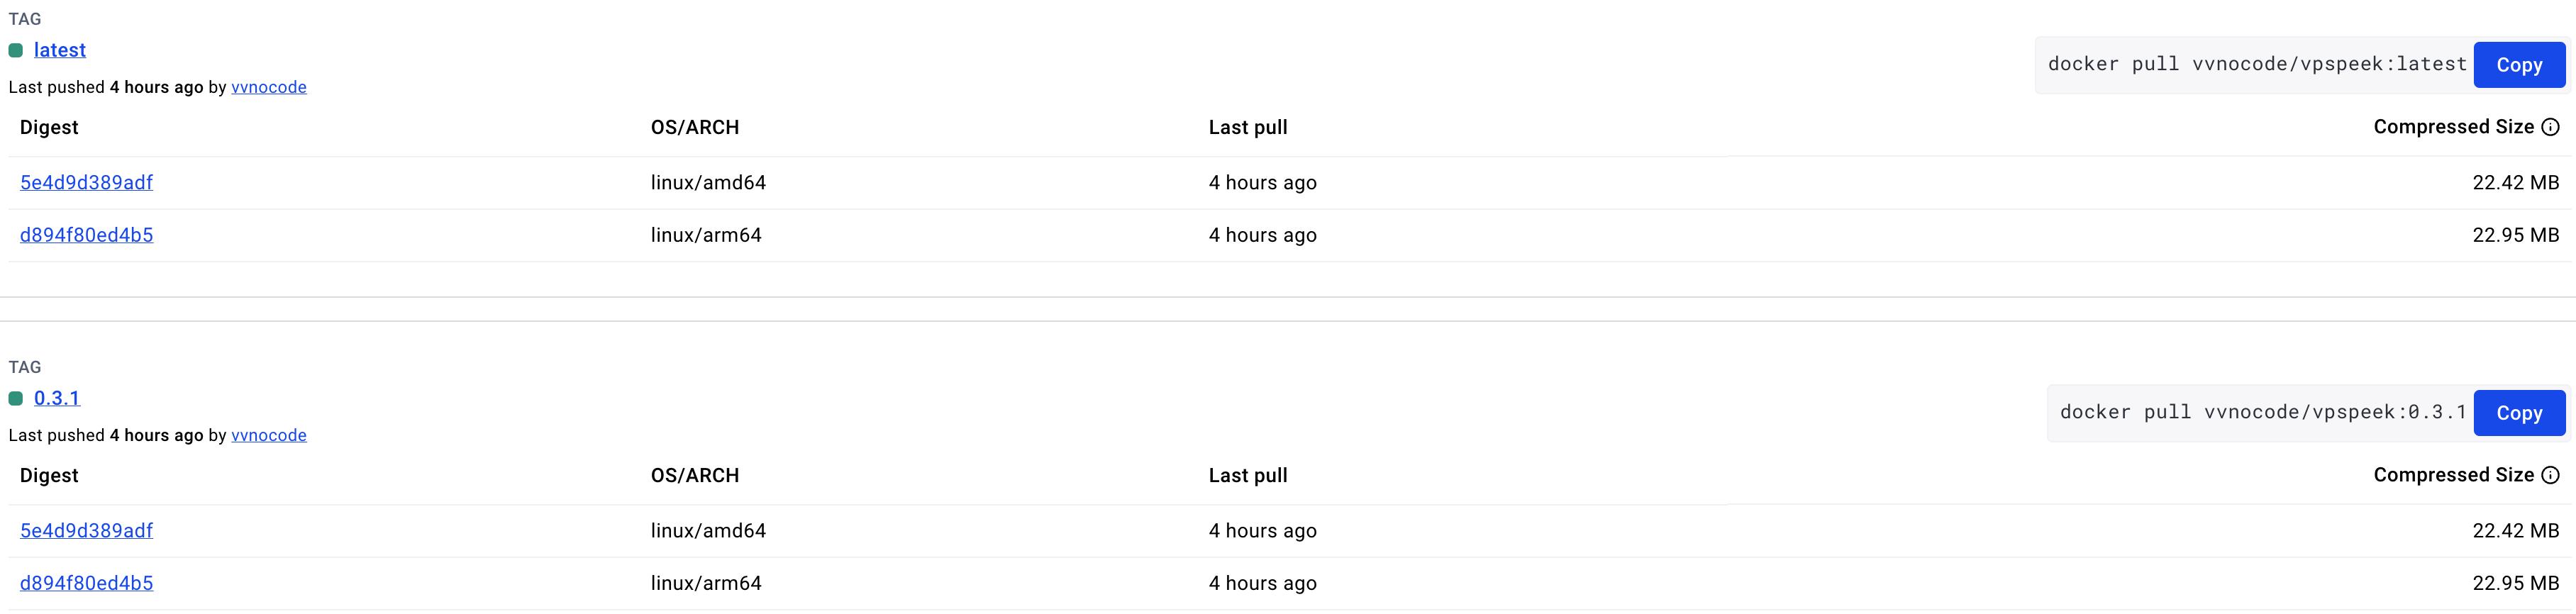
效果
最终效果如下: